Tuesday, August 16, 2011

Sundays are Fundays for Crafting!

After several weeks of meaning-to and needing-to craft up some fabric flowers for both gifts and for fun, I FINALLY got around to it.  My husband was actually home on a Sunday and we spent the day playing with our puppy girl and getting some much needed relaxation...his in the form of a nap, mine in the form of crafting.  So I have 3 fabric flower tutorials coming your way!  Hooray!

Numero Uno:  The No-Sew, Folded Flower
I'm sure you've seen these.  They are fluffy and colorful and super easy to make.  They make cute hair accessories if you utilize hair pins or headbands or spice up that boring sweater, man's v-neck tee, or old purse you have.  So versatile...from your baby to your grandma!

Supplies:
Fabric of your choice
Felt
Glue gun and glue sticks
Scissors
Pen for tracing
 You will need either a headband, hair thing, bobby pin with plate for glueing, or a pin back plate like below.  However you want to use your flower.  I have used the bobby pin and the below pin back on a single flower before so it can be versatile.

Here goes:
1.  Heat up the glue gun.
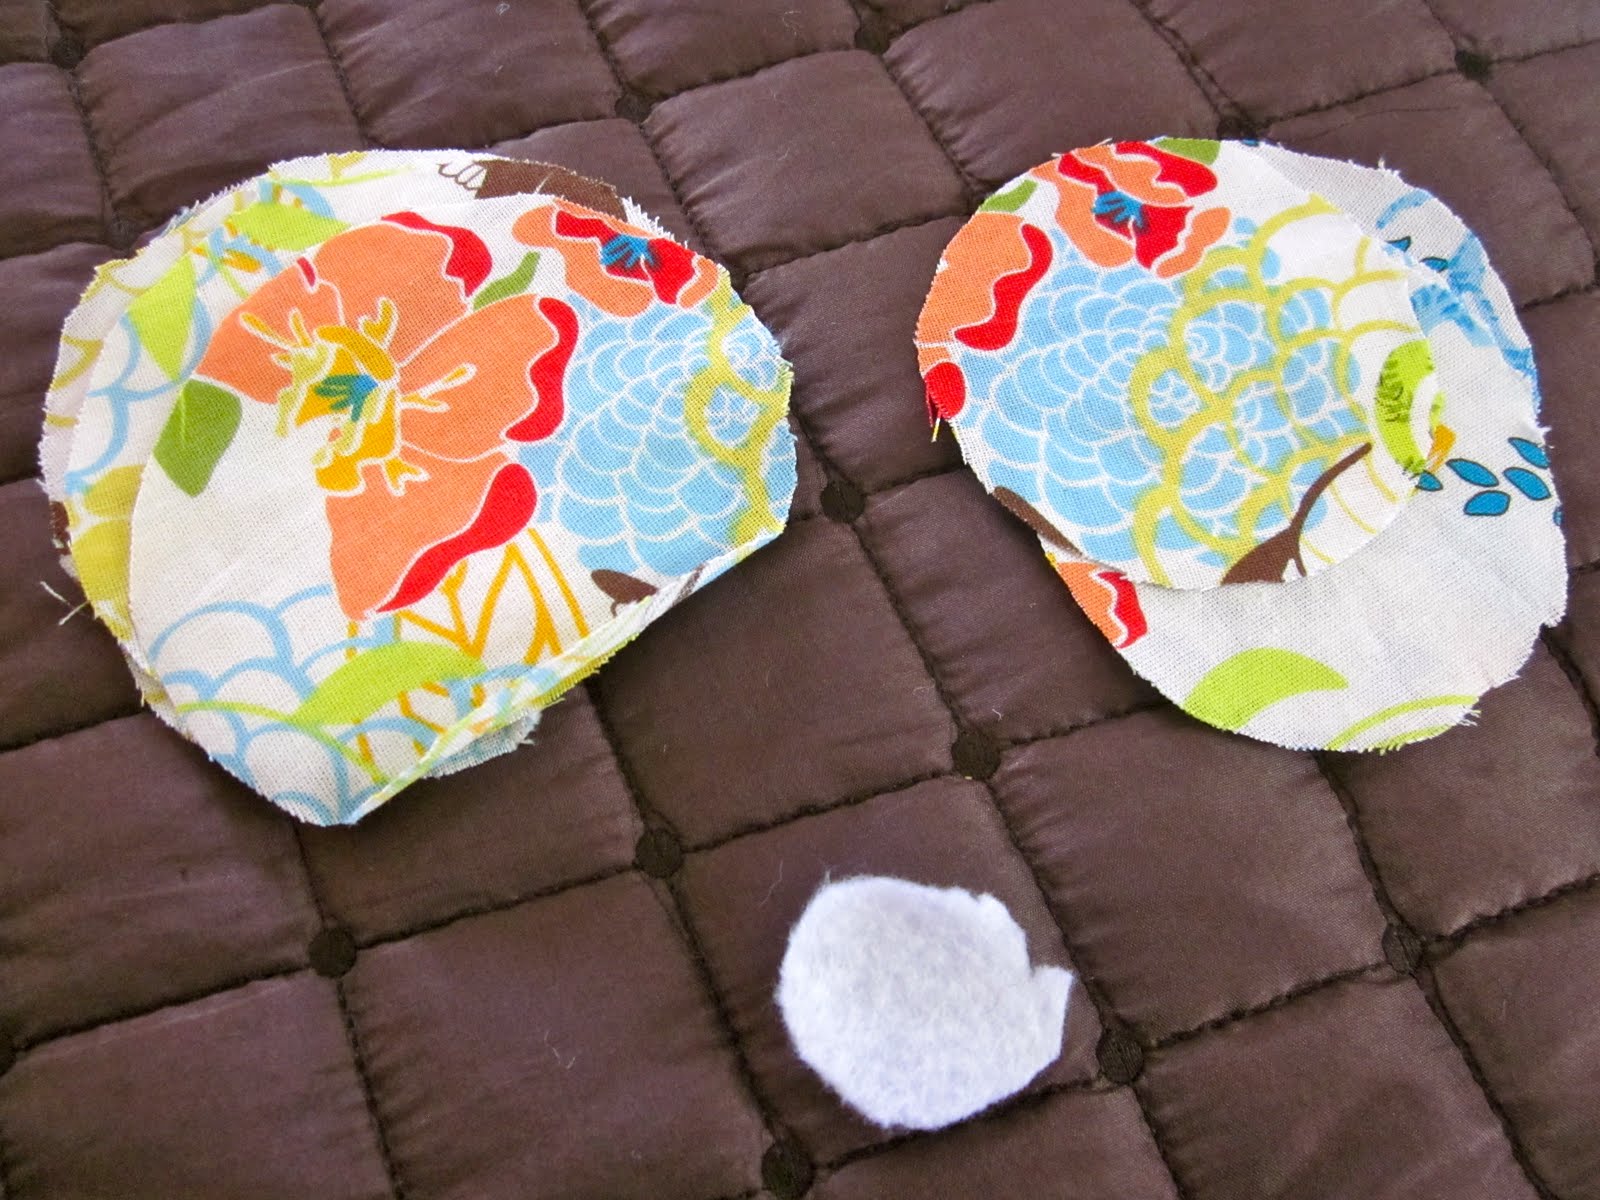
2.  Cut out a felt circle as the base of your flower.  Size varies depending on the size of flower you are wanting to make...lets say the size of nickle or quarter depending on how BIG and BOLD you want your flower.
3.  Cut out 4 large circles and 4 medium circles.  For instance, I used approximately a 3" circle and a 2" circle.  Approximately because I measured with my finger and not a ruler.  As type A as I can be with some things, I am not an exact crafter or cook.  I prefer to relax and guesstimate.  So I used what I had handy... a glass and a candle.

4.  Fold a large circle in half and then in half again until it forms a triangle.  You will end up doing this to 7 of the 8 circles. 
Example:
I usually just fold them as I go but here is an example of all the folds at once.

5.  Place your large triangles on the felt like pieces of a pie using your hot glue.

6.  Add your second layer by folding 3 circles the same way.  Depending on the look you are going for you can cut the tip of the small triangle off to shorten it or apply it as it.  I chose to cut the tip off.
Side note:  I felt like my flower was looking a little "off" so I chose to apply another layer under the layer I has just applied in step 6.  I did this my cutting the tip off a circle of the same size and merely sliding it around the top 3 triangles.  I think it gives it a more layered look.

7.  Use the last small circle available and fold it as you have all the others.  Then fold it again.  So in all its 3 folds.  Then cut the tip off and apply it in the center of the flower in a vertical position.  Kind of like it is standing up.
Side note:  Again I felt like my flower need a little something-something so I added another flat layer like I did after step 6.

Voila!   A beautiful no-sew fabric flower!  I have fold that no two fabric flowers look the same.  As you can see in this tutorial I had to roll with the punches and improvise to produce my best product.  But this craft is super easy and fast!  Such a fun girls night project as you can see with my friends here.
Here I am wearing my first folded fabric flower.
See...Cute!

Stay tuned in the next few days for two more no-sew fabric flower tutorials!

Thursday, August 11, 2011

I like it HOT!

I don't have a lot of fun exciting news today; 
EXCEPT THAT I'M GRADUATING FROM PT SCHOOL TOMORROW!  What?!!  I know.  F-I-N-A-L-L-Y!  But for today, I will share a random, tiny something personal about myself.


Truth:  I like to eat things with a little lot of spice.  
Always have.  Not too hot, mind you.  Wouldn't want to ruin my meal with a jiggling belly full of water but I like my food far from bland.


So when I was at my favorite local bulk grocer, I had a life changing moment when I saw this...
"What?,"  I said,  "Did God make this especially for me?"
Tears!  Fireworks!  Excitement, oh my!
My dreams come true...bulk hot sauce!

I'm sure many of you are gagging at the thought of a gallon of hot sauce but not me.  I've just been refilling my regular sized bottle blissfully!  I will not be ashamed of my spiciness!

One of my favorite hot sauce recipes:  Buffalo Chicken Dip
8 oz. pkg. cream cheese, softened
(neufchatel cheese for a lower fat version)
1/2 cup of blue cheese or ranch salad dressing
1/2 cup of Frank's Redhot sauce
1/2 cup of crumbled blue cheese or shredded mozzarella cheese
2 cans of chicken breast, drained
(or just 2 cups cooked chicken if you don't like chicken that taste like tuna)

Heat oven to 350 degrees.  Place cream cheese in baking dish in oven.  Stir until smooth.
Mix salad dressing, hot sauce and cheese.  Stir in chicken.
Bake 20 min or until heated through; stir.  Serve with crackers, chips or veggies.
(Please we all know we want it with chips!)

I'm telling you this dip will make you want to slap your Momma!  It is YUM!

Tuesday, August 9, 2011

Pin It Up!

For real this time.  Don't get me wrong, you know I love all the virtual pinning on Pinterest.  You know I do.  Uuummmm....maybe I'll do that next.  Any who.  I now have a real place to pin things.  I made a corkboard.  Not just any corkboard.  A pretty one.  Covered in one of my new favorite fabrics.  

First things first...Like always we must gather our supplies:
Ratty old corkboard from garage....Check!
Pretty fabric that pulls together all the colors in your home in the most perfect way....Check!
(You made need a cheap white piece of fabric to cover the board first if your pretty fabric is a little see-through.)
Stapler...Check!
(I suppose you could use a staple gun...never done that.  I just pulled out the old stapler from the desk drawer and it worked like a charm.)
Measuring tape...Check!
Decorative Upholstery Nails...Check!

Lesson learned:  I encourage use of a newer corkboard that has a wooden frame.  The metal frame was difficult to hang.  With a wooden frame it would be simple to add a nail or frame hanger to place your new corkboard on the wall...we had to rig it up with gorilla glue to get the hangers to attach.  It would be easier to just buy a newer one.

I literally cover/wrap the board because I'm not the kind who can cut exact square.  It's said really.  So instead of practicing my cutting skills on this project I just didn't even attempt it and went the all-rigged-up way.  Like my Momma always said, "If Courtney can't win, she won't play."
So like I said...Cover the  board with white muslin.
Staple.  Staple.  Staple. Neatly folding the corners.

Cover with pretty fabric of your choice.
Trim excess fabric if necessary.

Once fabric is securely in place with all the staples you can give it.
You can apply your trim.  I chose upholstery nails because I like the shininess.  You could use ribbon, twine, rope.  Whatever strikes your fancy.
Choose the distance you want between the nails and use your tape as a guide.
YES...Your fingers will be sore after applying a hundred nails.  There are upholstery hammers if you feel so inclined.

Finished product.
Sorry for the awful pictures...que disgusted face.
 I chose to place mine in the kitchen after moving it about 10 times.
I use mine to post invitations and announcements from my favorite people.  Pin my favorite new fabrics.  
By the way...what do you think...I was considering using them in my bedroom as a headboard and curtains or to cover cushions in my dining room with coordinating curtains.  I'm trying to integrate new colors...hence the darker blue.  I'd love your opinions.
And of course I needed a pocket for all my coupons for restaurants and stores.  Mostly because I lose them if they do not have a designated area.

Love cute organization!

Sunday, August 7, 2011

Meet our girl...

PSB
Paisley Blue Steele
You know we couldn't resist throwing in our favorite color.

She loves toys.

She loves cuddles.

Thanks so much for all of your advice!  She is a really great puppy.  (I'm sure B's family thinks differently after being here this weekend.  Paisley gets REALLY excited when people come over, especially kids!  It was so nice to have you here!)  Boy... have I already learned a lot though.  She sure is sweet when she sleeps though...Aren't they all?!

We love her!
Related Posts Plugin for WordPress, Blogger...