
After several weeks of meaning-to and needing-to craft up some fabric flowers for both gifts and for fun, I FINALLY got around to it. My husband was actually home on a Sunday and we spent the day playing with our puppy girl and getting some much needed relaxation...his in the form of a nap, mine in the form of crafting. So I have 3 fabric flower tutorials coming your way! Hooray!
Numero Uno: The No-Sew, Folded Flower

I'm sure you've seen these. They are fluffy and colorful and super easy to make. They make cute hair accessories if you utilize hair pins or headbands or spice up that boring sweater, man's v-neck tee, or old purse you have. So versatile...from your baby to your grandma!
Supplies:
Fabric of your choice
Felt
Glue gun and glue sticks
Scissors
Pen for tracing

You will need either a headband, hair thing, bobby pin with plate for glueing, or a pin back plate like below. However you want to use your flower. I have used the bobby pin and the below pin back on a single flower before so it can be versatile.

Here goes:
1. Heat up the glue gun.
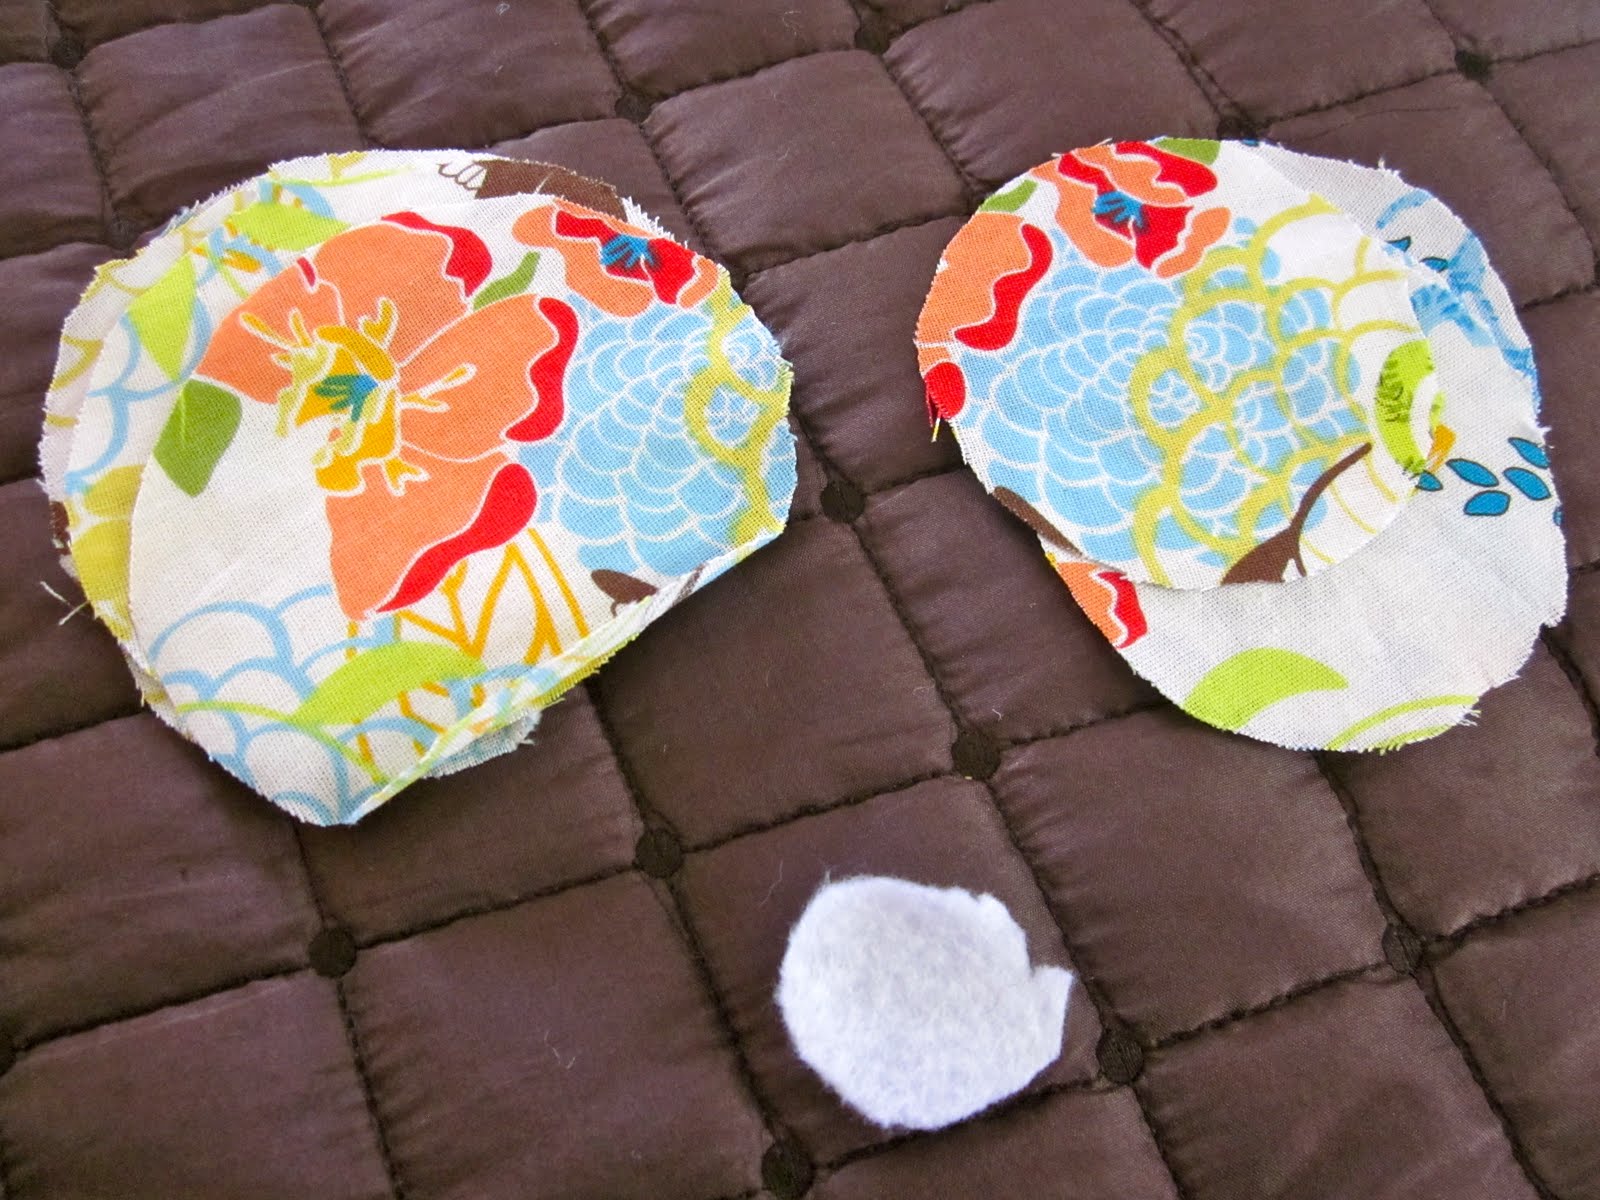
2. Cut out a felt circle as the base of your flower. Size varies depending on the size of flower you are wanting to make...lets say the size of nickle or quarter depending on how BIG and BOLD you want your flower.
3. Cut out 4 large circles and 4 medium circles. For instance, I used approximately a 3" circle and a 2" circle. Approximately because I measured with my finger and not a ruler. As type A as I can be with some things, I am not an exact crafter or cook. I prefer to relax and guesstimate. So I used what I had handy... a glass and a candle.

4. Fold a large circle in half and then in half again until it forms a triangle. You will end up doing this to 7 of the 8 circles.
Example:

I usually just fold them as I go but here is an example of all the folds at once.
5. Place your large triangles on the felt like pieces of a pie using your hot glue.

6. Add your second layer by folding 3 circles the same way. Depending on the look you are going for you can cut the tip of the small triangle off to shorten it or apply it as it. I chose to cut the tip off.

Side note: I felt like my flower was looking a little "off" so I chose to apply another layer under the layer I has just applied in step 6. I did this my cutting the tip off a circle of the same size and merely sliding it around the top 3 triangles. I think it gives it a more layered look.

7. Use the last small circle available and fold it as you have all the others. Then fold it again. So in all its 3 folds. Then cut the tip off and apply it in the center of the flower in a vertical position. Kind of like it is standing up.

Side note: Again I felt like my flower need a little something-something so I added another flat layer like I did after step 6.
Voila! A beautiful no-sew fabric flower! I have fold that no two fabric flowers look the same. As you can see in this tutorial I had to roll with the punches and improvise to produce my best product. But this craft is super easy and fast! Such a fun girls night project as you can see with my friends here.
Here I am wearing my first folded fabric flower.

See...Cute!
Stay tuned in the next few days for two more no-sew fabric flower tutorials!
No comments:
Post a Comment